REST API Page
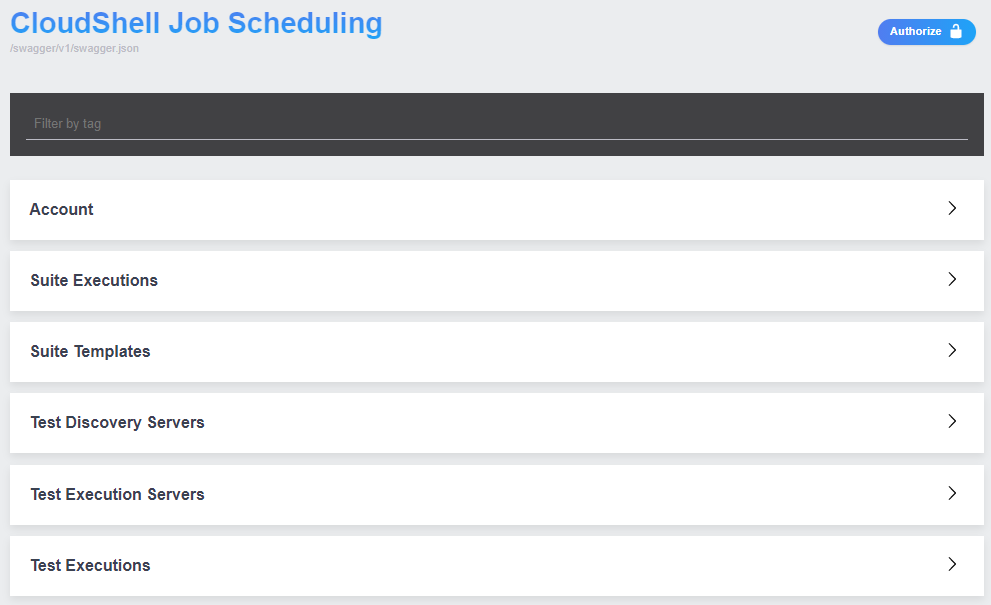
CloudShell Job Scheduling includes a RESTful API that enables you to automate your test execution activity. Feel free to use the live documentation page to try it out yourself and get familiarized with the different methods. To use the live documentation page, in the Job Scheduling Portal, click REST API.
Generally speaking, to run API methods in the live documentation page, you need to (1) expand the appropriate section (Account, Suite Executions, etc.) and select the API method to run. Then, click Try it out, specify the required details and click Execute.
To get started, you need to first obtain an accessToken and pass it to the REST API live documentation page to authorize your future REST API calls.
To obtain an accessToken:
-
In the Job Scheduling Portal, click REST API.
The live documentation page opens in a new tab.
-
In the Job Scheduling Portal, click the REST API tab to open the live documentation page.
-
Expand the Account section, click the /api/Account/login method and then click the blue Try it out button.
-
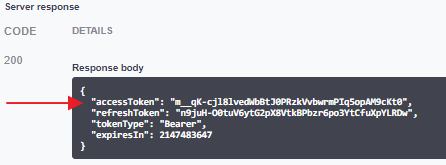
Specify your CloudShell username and password and click Execute.
The response should look something like this, including the authorization accessToken:
To pass the accessToken to the live documentation page:
-
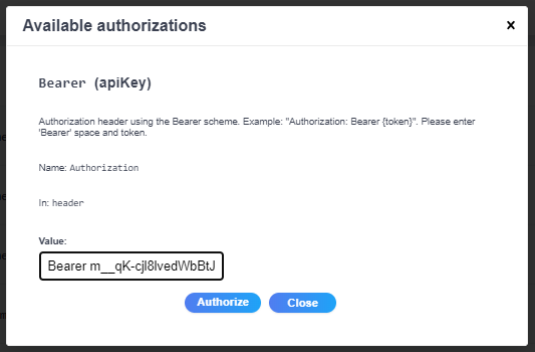
Click the Authorize button at the top of the live documentation page or the grey lock icon to the right of any API method.

-
In the Value field, specify Bearer <accessToken>. For example: "Bearer m__qK-cjl8lvedWbBtJ0PRzkVvbwrmPIq5opAM9cKt0".
-
Click Authorize.
The accessToken is sent with every new request to the server as an authorization header to validate the user.
tipIf the access token's validity period expires, refresh it by specifying the refreshToken in the Account section's /api/Token/refresh method.