Create VM using the OVF Template (vSphere)
Use the following steps to use vSphere to deploy the OVF template and create a VM.
To create a VM by deploying the OVF template:
- In your local machine, login to vSphere with administrator credentials.
Click File > Deploy OVF Template. The Deploy OVF Template dialog box is displayed.
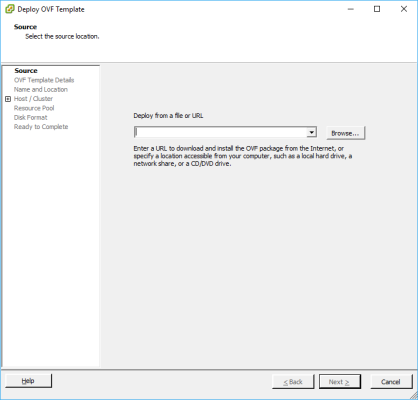
- Click Browse and navigate to the directory where the installation files are located.
In the Deploy from a file or URL field, select the required OVF file
Click Next. View the summary of the OVF template. If the details are correct, click Next.
The End User License Agreement page is displayed with the details of license agreements that are associated with the software that is installed in the OVF template.
You must accept the license agreements to deploy the OVF template. If no license agreements are associated with the installed software, this screen will not appear. Click Next.
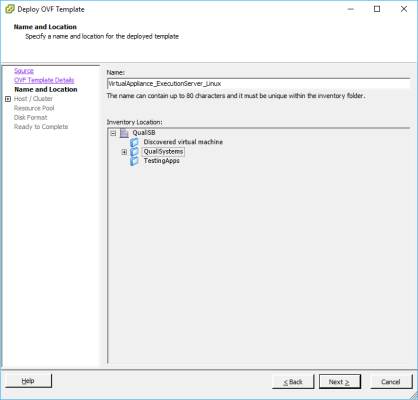
Enter the name for the deployed OVF template.
The length of the name can be up to 80 characters long and should be unique within the VM folder. Names are case sensitive.
Select the folder location within the inventory for the virtual appliance. Click Next.

- Specify Thin Provision. Click Next.
- When the deployment has completed, click Power On.
- Right-click the VM and select Open Console.
- In the VM console window, check the Settings Screen to be sure that it uploaded without root errors.