The Cloud Provider Interface
The rest of this chapter is dedicated to implementing the cloud provider driver that will be called by the server when interaction with the cloud provider is needed. This includes setting up communication between CloudShell and the cloud provider of choice, implementing the driver commands required from the resource, such as Deploy App, Power On and Refresh IP, and setting the resource’s live status icon (for example, "online” and "offline”).
The articles are:
- Resource Discovery
- App Deployment
- Power off and Delete VM
- L2 Network Connectivity
- L3 Network Connectivity
For illustration purposes, we will use a mock shell called HeavenlyCloud, which demonstrates the use and implementation of a custom cloud provider. We’ve created two versions of the shell, L2HeavenlyCloudShell for L2 clouds (download here) and L3HeavenlyCloudShell for L3 clouds (download here). The difference between the two is in the networking connectivity implementation.
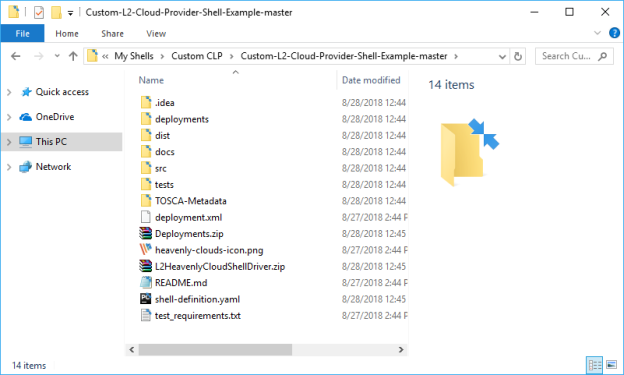
To see how the HeavenlyCloud cloud provider works, let’s create a resource using the HeavenlyCloud shell in CloudShell Portal. First, download the appropriate mock shell .zip file from GitHub and extract it to your computer.
Install the shell on CloudShell by running this command-line from the extracted shell project folder:
shellfoundry install
In CloudShell Portal, open the Inventory dashboard and create a resource from the HeavenlyCloud shell.
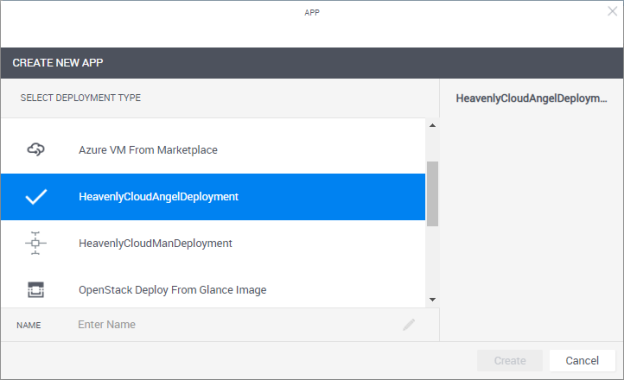
In the Manage>Apps page, create a new App template. Note that two new deployment types have been added, HeavenlyCloudAngelDeployment and HeavenlyCloudManDeployment. Select a deployment type and carry on setting the App template.
In the Deployment Paths page of the dialog box, make sure to select the new HeavenlyCloud cloud provider resource you created.
Next, let’s implement the get_inventory function, which discovers and validates the resource against the cloud provider of choice.