Configuring Windows Network Load Balancing
This section describes how to configure Windows Network Load Balancing using the NLB Manager.
To configure Windows Network Load Balancing:
-
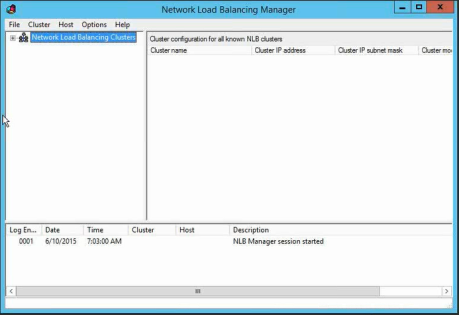
Click Start > Administrative Tools > Network Load Balancing Manager or from the command prompt, type NLBMgr and then press Enter).
-
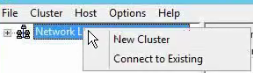
Right click Network Load Balancing Clusters.
-
Select New Cluster.
-
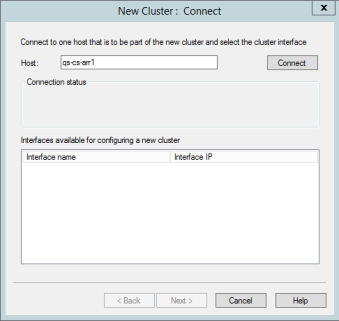
In the Host field, enter the details of the ARR servers and then click Connect.
-
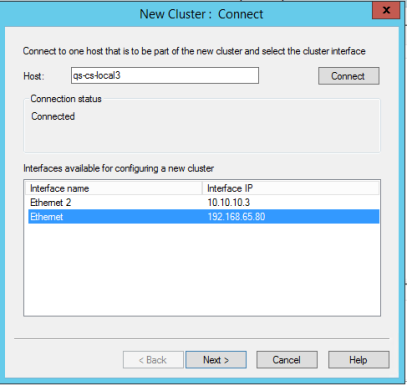
Select the client's network and click Next.
noteDue to a limitation, the network card must use a static IP address and not DHCP. (see Known Issues and Limitations (High Availability)).
-
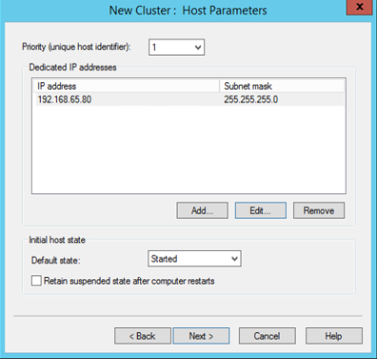
In the New Cluster: Host Parameters window, click Add.
-
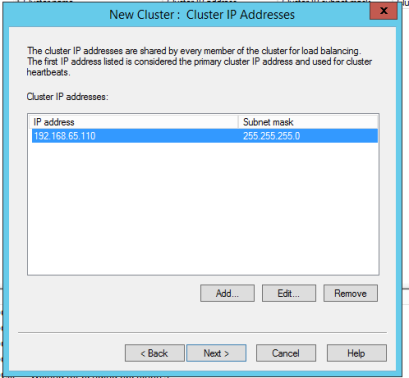
In the New Cluster: Cluster IP Addresses window, click Add.
-
In the Cluster Parameters section, add the cluster "full Internet name" and click Next. This name is used in the DNS as the Virtual front name.
-
In the Port Rules section, click Edit.
-
Select the port range to use in the cluster. This is the port range that is redirected in the cluster to other hosts.
- Usually http users use from: 80 to:80
- Usually SSL users use from:443 to:443
-
Under Filtering mode, select Single host and click OK.
-
Click Finish.