You are here: Installing Windows Network Load Balancing
Installing Windows Network Load Balancing
To install Windows Network Load Balancing:
- Click Start > Administrative Tools > Server Manager.
Click Manage and then select Add Roles and Features.

- Click Next.
In the Add Roles and Features Wizard, select Installation Type.

Select Role-based or feature-based installation and click Next.

Select a server for the installation and click Next.

In the Select features menu, select Features.

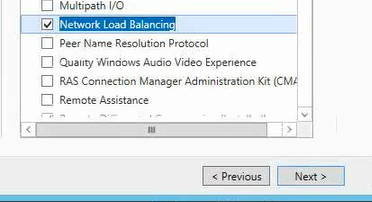
In the Features selection pane, select the Network Load Balancing option.

- In the Add features that are required for Network Load Balancing dialog box, click Add Features.
In the Features selection pane, click Next.

In the Confirm installation selections window, select the Restart the destination server automatically if required option.

- Click Install.
- Repeat steps 1-13 in each of the ARR servers (this can be done in parallel).