Add the Playbook to an App
Now that we have tested and debugged our playbook, the next step is to add it to an App template. For details, see Adding App templates.
The playbook runs once during the Setup phase for all of the sandbox's Apps that use that playbook, after CloudShell has finished deploying their VMs. This is done both to improve performance and support cross-server logic where multiple applications need to be installed and configured in a certain way.
-
In CloudShell Portal, open the Manage>Apps page.
-
Edit or create an App.
-
Open the Configuration Management tab.
-
From the Select Tool drop-down list, select Ansible.
-
Select the Connection Method, depending on the VM’s operating system. Select Windows Remote Management for Windows machines, or SSH for Linux.
-
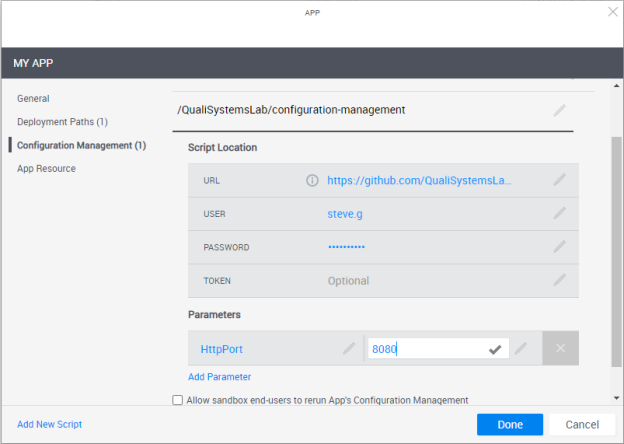
Specify the URL to the playbook YAML or ZIP file. Make sure you specify the raw version of the URL (GitHub, GitLab and BitBucket are supported). For example:
https://raw.githubusercontent.com/QualiSystemsLab/private-repo-zip-download/master/README.zipThe playbook can be a yaml file for a single playbook or a zip file containing several playbooks. For simple tasks, a single yaml file should be enough, but for more complex configuration logic, and for using roles, a zip file may be required (for a sample zip file, click here). The zip file must contain a least one yaml (if there are several yaml files, the main one must be named site.yaml). In order to use roles, include in the zip a folder named roles, and add the roles to it.
importantIf the URL is private (HTTPS), the VM will need to have a valid SSL certificate. To disable the certificate check, open Resource Manager Client>Resource Families>Configuration Services (Ansible Configuration or Custom Script Configuration) and set the Verify Certificate attribute to False.
-
If the URL is protected, specify the Username and Password, or Token.
-
In the Inventory Groups field, specify the inventory groups, separated by semicolons ";”. For details, see the Inventory Groups example.
-
To add parameters to the playbook, click Add Parameter, and enter each parameter’s name and value. Repeat for additional parameters.
Note that the parameters are added to the App template.

You can add parameters to the App template in the following ways:
- Provide the value as part of the App template, making it the default value for every instance of this App template.
- Specify a static value in the App in the blueprint.
- Specify a dynamic value in the App in the blueprint, linking the parameter to one of the blueprint’s Global Inputs. To do so, just enter the global input’s name in curly brackets as the parameter value, or click the "plus” button to select an available Global Input.
- Pass a value using the API, as illustrated in this Parameters. This will replace any value provided in the App template or in the blueprint.
-
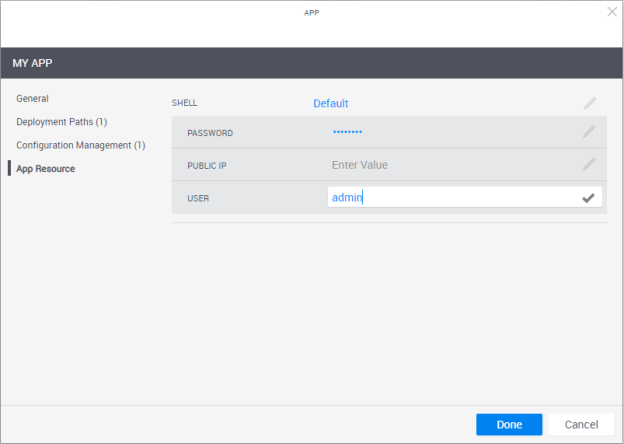
Open the App Resource tab, and enter the VM’s access credentials.

-
Click Done.