Required vCenter User Permissions per Deployment Type
To configure vCenter cloud providers, you must use a vCenter user that has a role with the required permissions for the specified deployment type on the root and child objects. Root-level permissions are required because in order to correctly identify each vCenter object (datacenter, templates, dvswitches, etc.) on your cloud provider resource, CloudShell needs to be able to access the vCenter object tree, starting with the root, which is the datacenter.
To set up the vCenter user(s) for CloudShell:
-
In the vSphere Client's Administration area, in the Roles section, add or edit a role.

-
Grant the permissions for the desired deployment type(s):
Permissions for App deployments:
Deploy Clone VM from VM / Deploy VM from Linked Clone:
- Datastore > Allocate space
- Folder > Create folder
- Folder > Delete Folder
- Host > Local operations > Create virtual machine
- Host > Local operations > Delete virtual machine
- Host > Local operations > Reconfigure virtual machine
- Resource > Assign vApp to resource pool
- Resource > Assign virtual machine to resource pool
- Virtual machine > Configuration > CPU count
- Virtual machine > Configuration > Memory
- Virtual machine > Extend virtual disk
- Virtual machine > Interaction > Device connection
- Virtual machine > Interaction > Power Off
- Virtual machine > Interaction > Power On
- Virtual machine > Inventory > Create from existing
- Virtual machine > Inventory > Remove
- Virtual machine > Provisioning > Clone template
- Virtual machine > Provisioning > Clone virtual machine
- Virtual machine > Provisioning > Customize
- Virtual machine > Provisioning > Modify customization specifications
- Virtual machine > Provisioning > Read customization specifications
- Virtual machine > Snapshot management > Create snapshot
- Virtual machine > Snapshot management > Remove snapshot
- Virtual machine > Snapshot management > Revert to snapshot
- vSphere Tagging > Assign or Unassign Tag
- vSphere Tagging > Create vSphere Tag
- vSphere Tagging > Create vSphere Tag Category
- vSphere Tagging > Delete vSphere Tag
- vSphere Tagging > Delete vSphere Tag Category
- vSphere Tagging > Edit vSphere Tag
- vSphere Tagging > Edit vSphere Tag Category
Deploy VM from OVF image:
- Datastore > Allocate space
- Folder > Create folder
- Folder > Delete Folder
- Network > Assign network
- vApp > Import
- Virtual machine > Configuration > Add new disk
- Virtual machine > Configuration > Advanced
- Virtual machine > Configuration > CPU count
- Virtual machine > Configuration > Memory
- Virtual machine > Extend virtual disk
- Virtual machine > Interaction > Device connection
- Virtual machine > Inventory > Remove
- Virtual machine > Provisioning > Customize
- Virtual machine > Provisioning > Modify customization specifications
- Virtual machine > Provisioning > Read customization specifications
- vSphere Tagging > Assign or Unassign Tag
- vSphere Tagging > Create vSphere Tag
- vSphere Tagging > Create vSphere Tag Category
- vSphere Tagging > Delete vSphere Tag
- vSphere Tagging > Delete vSphere Tag Category
- vSphere Tagging > Edit vSphere Tag
- vSphere Tagging > Edit vSphere Tag Category
Deploy VM from Template:
- Datastore > Allocate space
- Folder > Create folder
- Folder > Delete Folder
- Host > Local operations > Create virtual machine
- Host > Local operations > Delete virtual machine
- Host > Local operations > Reconfigure virtual machine
- Resource > Assign vApp to resource pool
- Resource > Assign virtual machine to resource pool
- Virtual machine > Configuration > CPU count
- Virtual machine > Configuration > Memory
- Virtual machine > Extend virtual disk
- Virtual machine > Interaction > Device connection
- Virtual machine > Interaction > Power Off
- Virtual machine > Interaction > Power On
- Virtual machine > Inventory > Create from existing
- Virtual machine > Inventory > Remove
- Virtual machine > Provisioning > Customize
- Virtual machine > Provisioning > Deploy template
- Virtual machine > Provisioning > Modify customization specifications
- Virtual machine > Provisioning > Read customization specifications
- vSphere Tagging > Assign or Unassign Tag
- vSphere Tagging > Create vSphere Tag
- vSphere Tagging > Create vSphere Tag Category
- vSphere Tagging > Delete vSphere Tag
- vSphere Tagging > Delete vSphere Tag Category
- vSphere Tagging > Edit vSphere Tag
- vSphere Tagging > Edit vSphere Tag Category
Connectivity:
- Network > Assign network
- Virtual machine > Configuration > Modify device settings
- Virtual machine > Configuration > Settings
- dvPort group > Create
- dvPort group > Delete
Permissions for Sandbox Save and Restore:
Snapshot Save and Restore operations:
- Virtual machine > Snapshot management > Create snapshot
- Virtual machine > Snapshot management > Remove snapshot
- Virtual machine > Snapshot management > Revert to snapshot
-
Click Next.
-
Set the Role name, as appropriate.
-
Click Finish.
-
After creating the role, add a permission to the root level of the vCenter Server.
For example, "vcenter1.qualisystems.local":

-
Add the User that will be used by vCenter cloud provider resources to deploy App VMs on the vCenter Server.
-
Assign the new/updated Role.
-
Make sure the Propagate to children check box is selected.
-
Click OK.
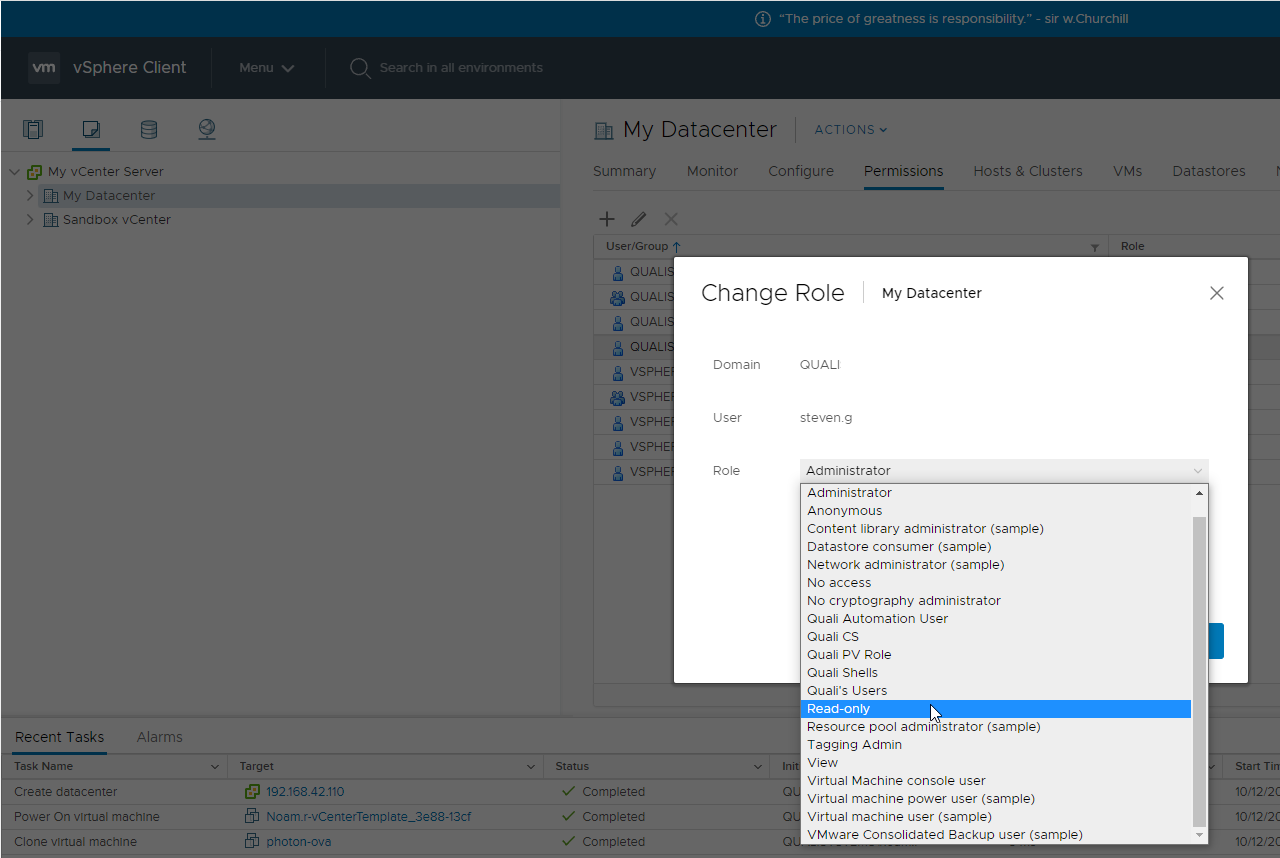
If you cannot Propagate to children, make sure the vCenter account has at least Read-only permission on the datacenter.
-
Click the datacenter and select Permissions.
-
Make sure the account has the Read-only role or higher.
-