Connect Resources and Apps
You can connect and disconnect resources and Apps that are linked by a connection route. For information about connection routes, see Connectivity
In this article:
Viewing connection status
To view the connection status of a connection:
- Click a connection. A context menu is displayed.

The icon at the center of the menu circle indicates the current state of the route - Connected or Disconnected.
For more details about the connection, from the side-panel, select Properties.
Connecting or disconnecting reserved resources
You can connect or disconnect connections of type Route, Tap, Cable, and Connector (for LAN/Subnet connections). Connecting and disconnecting a connection creates/removes the internal mapping required for the connection.
Note: When reserving a blueprint that has connection routes, the default setup script automatically connects all physical and virtual network connections. And when a sandbox ends, all the route mappings of the sandbox are cleared by the default teardown script. For additional information, see CloudShell Sandbox Template.
To connect or disconnect a reserved route:
- Click a connection.
-
From the Actions context menu, click the appropriate option (Connect or Disconnect).
Note: You cannot connect or disconnect deployed Apps to or from a subnet.
Connecting all endpoints of a VLAN service
It is also possible to connect all endpoints that are connected to a VLAN service using the service's Connect All command.
Note: Subnet services are automatically deployed during the sandbox's setup phase by CloudShell's Default Sandbox Setup script, but do not have a Connect All command.
To connect a VLAN service's endpoints:
- In the sandbox, click the VLAN service.
-
Select Commands.
The Service Commands pane is displayed on the right.
-
Click Connect All.
Note: If the command is missing, ask your administrator to add the VLAN service model to the Vlan Service Connect All script in the Scripts - Resource management page.
Connecting vCenter Apps to an existing VLAN port group
This capability is supported for Apps based on vCenter 2nd Gen shell cloud provider resources.
It is possible to connect an App or deployed App to an existing port group. This enables you to connect deployed Apps in different sandboxes and also to connect Apps deployed in a sandbox to static VMs on the vCenter server.
Note: This capability is supported only for vCenter Apps and applies to port groups created on the datacenter defined on the vCenter cloud provider resource.
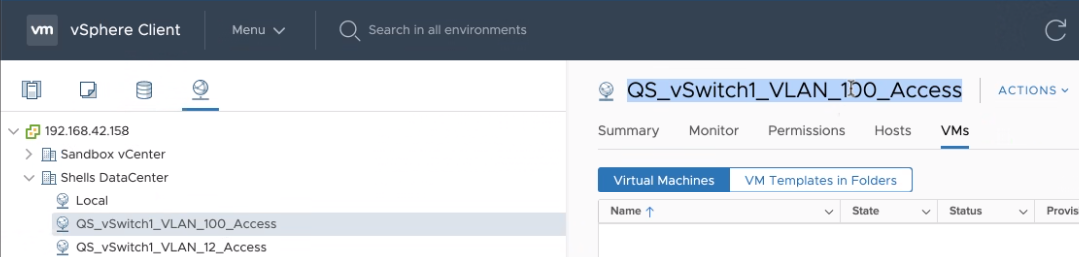
For illustration purposes, the below procedure assumes you want to connect an App to port group "QS_vSwitch1_VLAN_100_Access":
To connect an App to an existing port group:
- Download the vCenter.VLAN.Port.Group.zip file from the vCenter 2G shell's Integrations page.
- Import the ZIP file into CloudShell Portal.
- Open the blueprint or sandbox.
- From the App / Service pane, drag the new vCenter VLAN Port Group service into the diagram.
- Set the service's details:
- Port Group Name: Full port group name. For example: "QS_vSwitch1_VLAN_100_Access".
- VLAN ID: Port group's VLAN ID. For example: "100".
- Click Add.
- Create connection requirements between the vCenter Apps and the service.
-
Deploy the connection(s), as appropriate.
The connection is created like with any other VLAN service. This includes by deploying the App, connecting the purple Connector line if the App is already deployed, and reserving the blueprint.
Connecting Azure Apps to predefined subnets
This capability is supported for Apps based on Azure 2nd Gen shell cloud provider resources.
It is possible to connect Azure Apps to subnets residing in the Sandbox VNet.
To connect Azure Appss to a predefined subnet:
- Download the Azure.Subnet.zip file from the Azure 2nd Gen shell's Integrations page.
- Import the ZIP file into CloudShell Portal.
- Open the blueprint or sandbox.
- From the App / Service pane, drag the new Azure Subnet service into the diagram.
- Set the following details on the service:
- Public: Subnet's privacy policy - Public to enable connections to the subnet's VMs from outside the subnet or Private.
- Subnet Name: The name of the subnet, as displayed in the Subnets blade on Azure.
- Click Add.
-
Deploy the connection(s), as appropriate.
The connection is created like with any other Subnet service. This includes by deploying the App, connecting the purple Connector line if the App is already deployed, and reserving the blueprint.