Associating JIRA Issues with Test Executions
This feature requires JIRA Integration with CloudShell.
This article explains how to associate a CloudShell test's execution with a JIRA issue. This includes associating a test execution with an existing Jira issue or creating a new JIRA bug on-the-fly for a test execution. This is useful if you want to use your JIRA platform to manage the troubleshooting process of failed CloudShell tests.
Creating and associating JIRA defects to a test execution
To create or associate a JIRA defect to a test execution:
-
In CloudShell Portal, switch to the domain that has the JIRA project ID as the name.
-
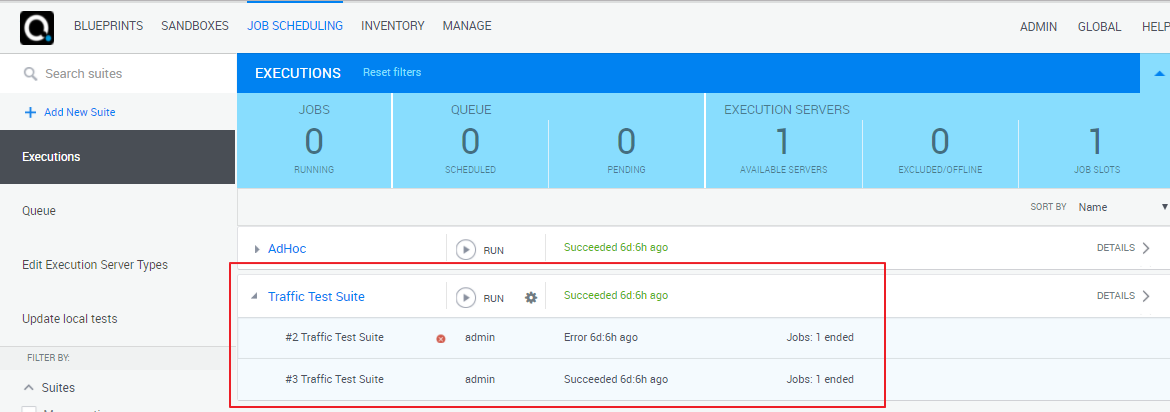
In the Job Scheduling dashboard, in the Execution page, expand the automation suite.
For example, a "Traffic Test Suite" automation suite containing two executions:
-
Click the suitable automation suite execution.
-
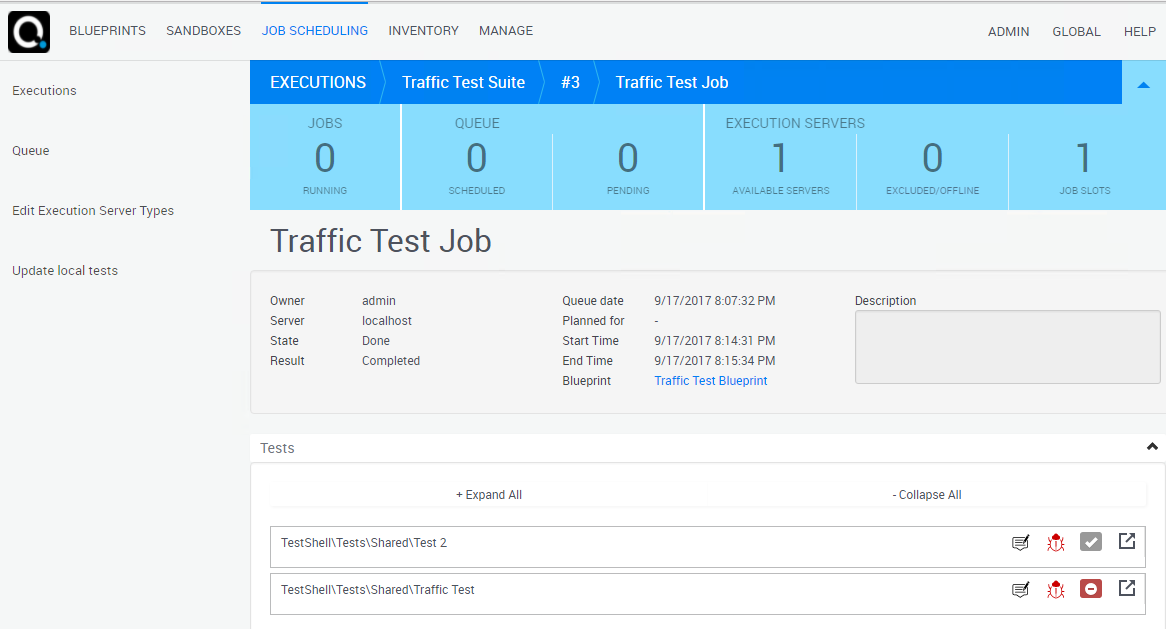
Click a job to display the job's test executions.
For example, a "Traffic Test Job" containing two test executions:
-
Perform the appropriate procedure:
To create a new Jira bug for the test execution:
-
Click the
 button next to the suitable test execution.
Jira opens in a new browser tab, displaying the new bug with general details relating to the CloudShell automation suite. This includes the job and test, CloudShell user, a link to the sandbox ID (if the job had one), and links to the test execution's job and execution report in the bug's description.
Important-
You will need to first log into JIRA if you do not have an open Jira session or if your CloudShell user does not exist in JIRA. If this happens, contact your administrator or log in if you have the credentials.
noteAs the JIRA site will open in a browser tab, make sure your browser is set to allow pop ups from this site.
- Furthermore, if your CloudShell user is missing from JIRA, CloudShell will not be able to fill in the Reporter field in the JIRA bug. :::
-
-
Optionally, fill in additional details and create the bug.
The bug is added to JIRA and associated to the test execution.
-
Optionally, fill in additional details and create the bug.
The bug is added to JIRA and associated to the test execution.
-
Repeat to create additional JIRA bugs for this test execution.
To associate an existing JIRA issue to the test execution:
-
Click the
 button next to the suitable test execution.
 -
In the Linked Issues dialog box that is displayed, enter the issue's ID and click Link.

The JIRA issue is associated to the test execution.
Note: The JIRA issue now includes links to the test execution's job and execution report, and the CloudShell test execution includes a link back to the JIRA issue.
-
Repeat to associate additional JIRA issues to this test execution.
-
Viewing a test execution's JIRA defects
To view the JIRA defects that are associated to a test execution:
-
In the Job Scheduling dashboard, in the Execution page, expand the automation suite.
For example, a "Traffic Test Suite" automation suite containing two executions:
-
Click the suitable automation suite execution.
-
Click a job to display the job's test executions.
-
Click the
button next to the suitable test execution.The Linked Issues window is displayed, listing the defects that are associated to the test execution.