Blueprint Development Best Practices
In this article, we'll cover the recommended basic flow for blueprint development. This includes developing the blueprint in a draft, which is only visible to the blueprint's owner and permitted editors.
To develop a blueprint:
-
Create or modify a blueprint. To modify an existing blueprint, we recommend you make a copy of the blueprint or export it locally for backup.
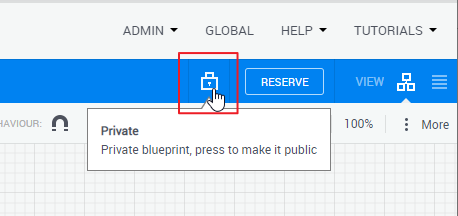
tipIf you are fixing a faulty blueprint, make sure the blueprint is private. We don't want anyone using it before it is ready.
-
From the Blueprint menu, select Create a Draft to enter Draft mode. A blueprint draft is a private branch of the blueprint that is only accessible to the blueprint's permitted users. You can view, edit, and reserve the draft.
The draft is identified by several indicators:
- The blueprint name has a trailing "1".
- The Blueprint menu and canvas captions change to Blueprint Draft.
- A toolbar button appears next to the Reserve button (highlighted in red). Click it to switch between the regular blueprint and the draft version.

-
Update the blueprint as appropriate.
To allow others to contribute or check the draft, add them as permitted editors.
-
To access drafts that you are permitted to access in the domain, in the Blueprint Catalog, select the Draft blueprint status, click the tile of the suitable blueprint and switch to the draft.

-
You can also delete the draft if you made some unwanted changes to the blueprint and prefer to start over (Blueprint Draft > Delete).
-
When the blueprint is ready, from the Blueprint Draft menu, select Promote and click OK in the pop window to merge the draft with the original blueprint.
-
Make sure the blueprint is public and in the right blueprint categories.