Applying the CloudShell License
To remotely access CloudShell portal and apply the CloudShell license:
Open a browser on a networked machine and specify the URL based on the IP of the newly created VM. To find the IP, log in to the VM, open command-line and run the
ipconfigcommand.The VM does not have a CloudShell license and therefore the Activate CloudShell page is displayed.
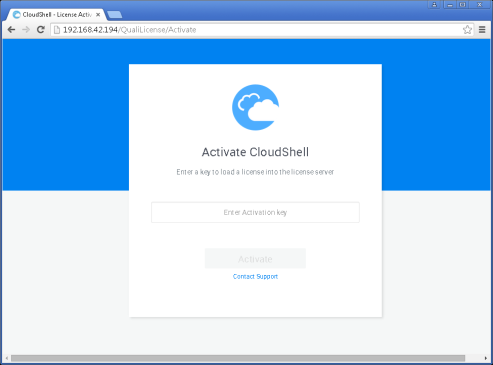
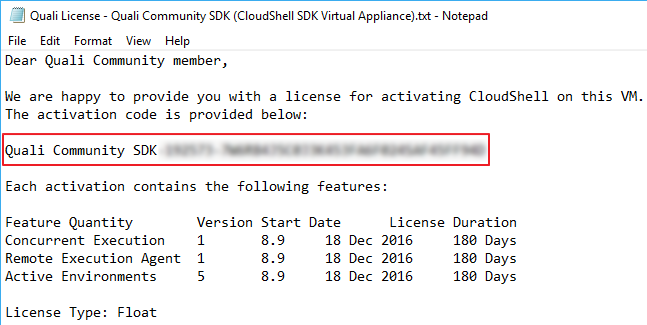
Enter the CloudShell license in the Enter Activation Key field. Make sure you include the full license string, starting with the words "Quali Community SDK", as illustrated in the image below.
Note: The license is included in the read me file of the ZIP file you downloaded from Quali Community’s Integrations page. For example:
- Click
 .
. Follow the prompts to complete the CloudShell configuration.
(The IP in the URL in the following image is for illustration purposes only.)
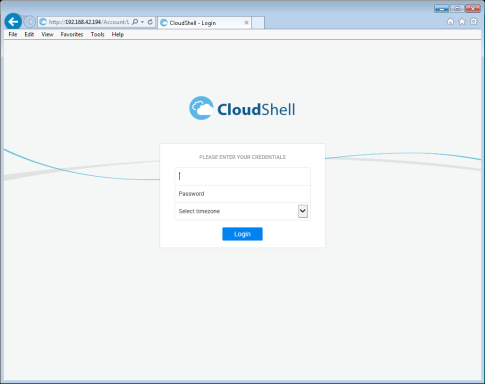
- In the Login screen, enter the default user credentials (Username: "admin", Password: "admin") and select the time zone.
Click Login.
When the procedure completes, Cloudshell is set to run in a standalone configuration.