Test Repositories Dashboard
The Test Repositories dashboard lists the (Git) test repositories associated with the New Job Scheduling.
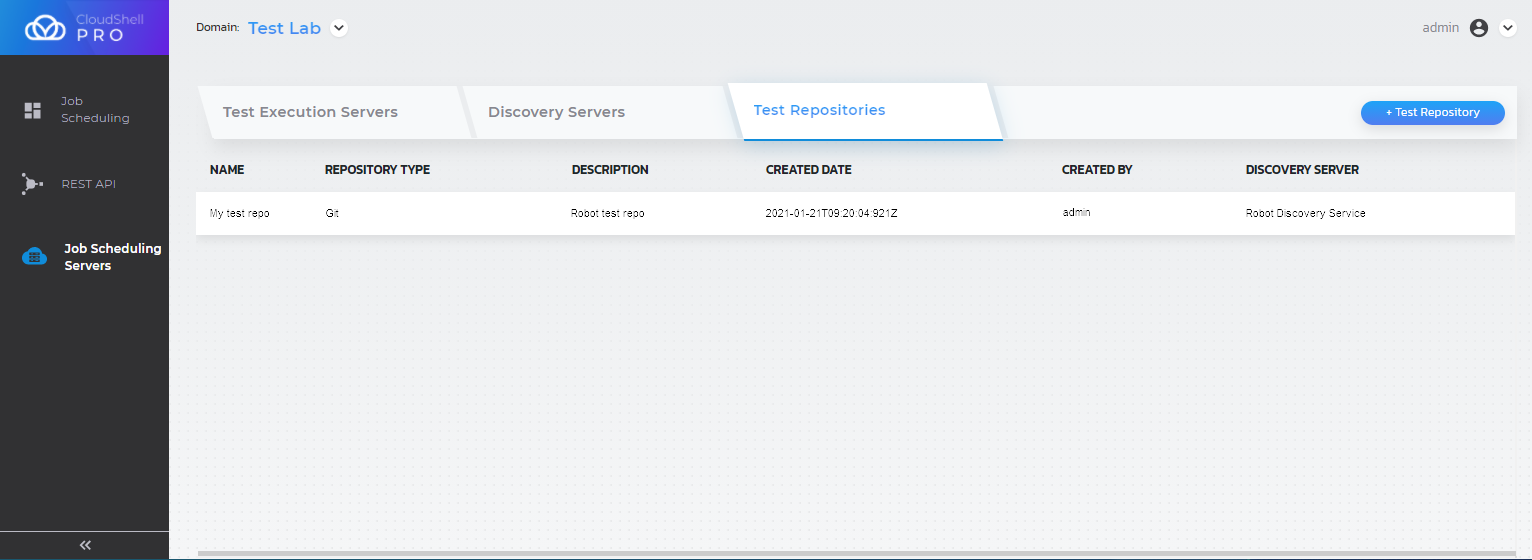
The following details are provided for each test discovery server:
- Name of the test repository
- Repository Type: Type of Git repository
- Description: Description for the repository, if provided
- Created Date: Date on which the test repository was added to the New Job Scheduling
- Created By: CloudShell user that added the test repository
- Discovery Server: The test discovery server associated to the test repository
Adding a new test repository
This section explains how to associate a test repository to an existing test discovery server. The test repository can be a git repository, like GitHub or GitLab, or BitBucket.
Prerequisites:
-
Suitable test discovery server to be associated to the test repository
-
Test repository that has the appropriate structure and is associated to a domain. For details, see Test Repository Configuration.
To add a new test repository:
-
In the New Job Scheduling Portal, click Job Scheduling Servers and select the Test Repositories tab.
The Test Repositories dashboard is displayed.
-
Click +Test Repository button.
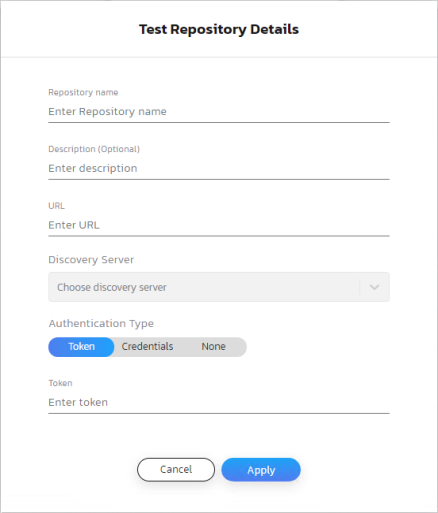
The Test Repository Details dialog box is displayed.
-
Fill in the details.
-
Repository name: Repository's display name in the New Job Scheduling
-
Description: Informative description for the repository
-
URL: Test repository's URL, followed by ".git".
For example:
https://gitlab.com/my-company-name/RobotTests/-/tree/master/prod.git -
Discovery Server: Discovery server to associate this test repository to
-
Authentication Type: Select the authentication type and specify the details.
-
Token: For access token authentication. For GitLab repositories, specify the token in the Credentials > Password field and the Username.
-
Credentials: For user/password authentication
-
None: For public repositories, which do not require authentication
-
-
-
Click OK.
The test repository is displayed in the dashboard.
Editing a test repository's details
To edit a test repository's details:
-
In the New Job Scheduling Portal, click Job Scheduling Servers and select the Test Repositories tab.
The Test Repositories dashboard is displayed.
-
Click the repository's more actions button and select Edit.
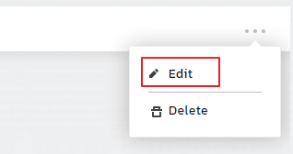
The test repository's details dialog box is displayed.
-
Make the necessary changes. You can change the test repository's Description and Authentication Type.
-
Click Apply.
Deleting a test repository
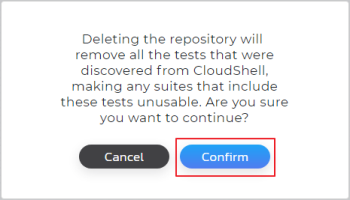
Before you delete a test repository, please note that this action will remove from CloudShell all tests that were discovered by the repository's discovery server. Any suites that use these tests will be rendered unusable.
To delete a test repository:
-
In the New Job Scheduling Portal, click Job Scheduling Servers and select the Test Repositories tab.
The Test Repositories dashboard is displayed.
-
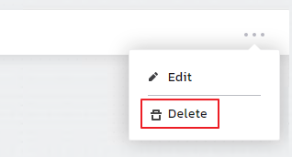
Click the repository's more actions button and select Edit.
-
Confirm the operation.
