Select a CloudShell License
The Select a license window enables you to license your CloudShell applications.
CloudShell uses two types of licenses: Float and Seat. The floating license is set on the License server while a seat license must be set on each CloudShell client application.
You can configure a mix of license settings, using different types of files for each application. For some applications, you can specify more than one type of license. For example, you could run CloudShell Authoring with a seat license (from the license file) and CloudShell Resource Manager with a floating license (from the license server). For additional information, see Licensing.
If you need to set or re-set the CloudShell License Server after CloudShell installation, run CloudShell installation using the Custom / Upgrade installation option and select the CloudShell License Server component. For additional information, see Custom Component selection.
Activate the license on the License Server
To activate the license:
-
Open the CloudShell License Server configuration wizard, as explained in Configure Application Settings. If you are installing or upgrading CloudShell, this wizard will open automatically as part of the setup process.
-
Click Next.
The License server settings page is displayed.
-
Fill in the details as appropriate.
-
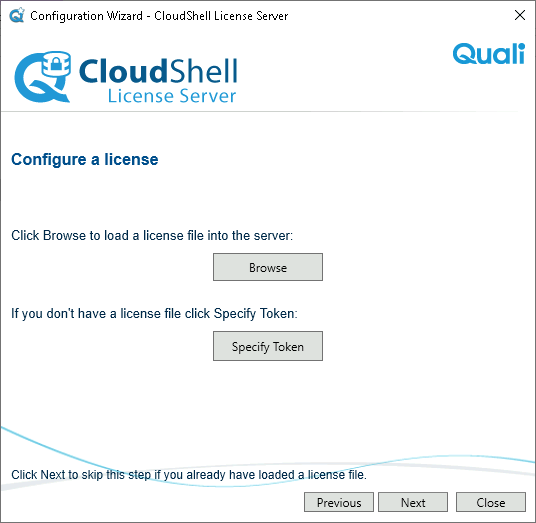
Click Next until you reach the Configure a license page.
-
Do one of the following:
-
Browse to the license file you received from Quali.
-
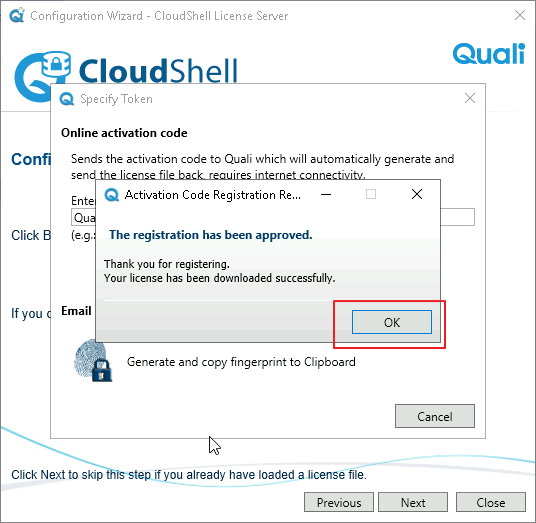
Specify the license token:
-
Click Specify Token to paste the license token and click Send.
The license token starts with "Quali.com". For example:
Quali.com-358649-1931B3E97G5347C2A02FC678CC32B249
-
Click OK when you see the registration activation confirmation message.
-
-
-
Click Next and then click Finish.
-
Verify that the License Status is now "All Valid".
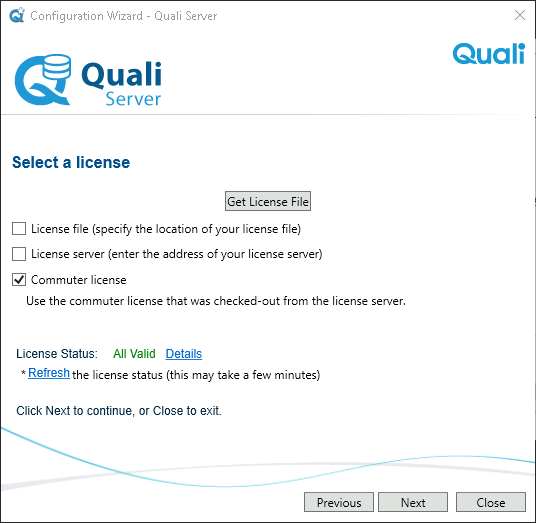
Specify a license on a client application
You set the license in the CloudShell client application's configuration wizard, in the Select a license page.
There are four ways to do this:
- Get License File to generate and use an activation code from your computer's fingerprint
- License File to select a CloudShell license file containing the activation code
- License server to specify a floating license
- Commuter license to enable continuous use of a floating license from your organization’s License Server.
To help you troubleshoot license status issues and monitor currently occupied licenses, we've included WlmAdmin in the CloudShell installation package under ~\CloudShell\Data\LicenseServer\Qualisystems\CloudShell\LicenseServer\Admin. It allows you to view and remove licenses that are currently being used. For details, see this official Thales documentation page.
To get a license file (Get License File):
-
Click the Get License File button.
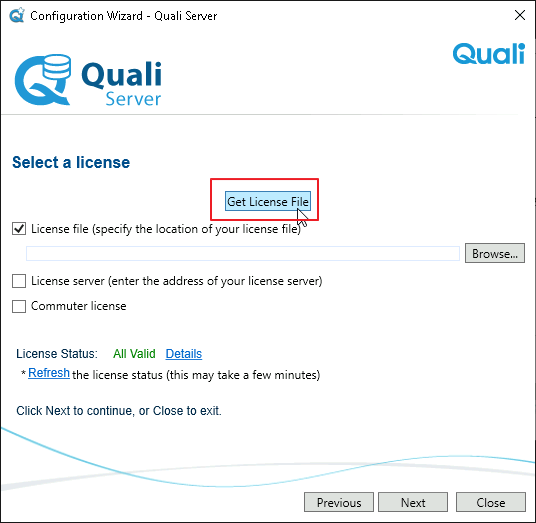
The Specify Token dialog box is displayed.
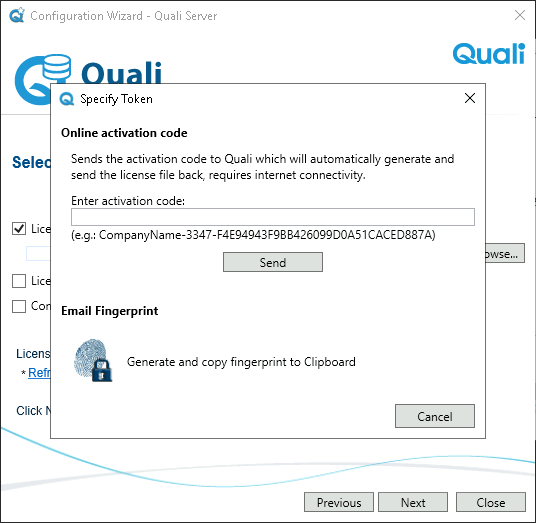
-
In the Online Activation Code section, click the Send button to automatically generate an activation code from your computer’s fingerprint.
If you don't have a computer fingerprint, perform the following:
-
Open the
C:\Program Files (x86)\QualiSystems\Licenses\folder and make sure theActivatedLicense_<version#>.lsnfile doesn’t exist. If it exists, rename it. -
In the Online Activation Code section, in the Enter Activation Code field, enter the activation code you received from Quali and click Send.
A new
ActivatedLicense_<version#>.lsnfile is created in theQualiSystems\Licensesfolder, listing all of your seat's features. -
If Quali Server and CloudShell License Server are installed on the same machine and you have two activation codes, one for Quali Server and one for the clients, rename the newly created
ActivatedLicense_<version#>.lsnfile.
-
-
In the Email Fingerprint section, click Copy fingerprint to Clipboard to generate a fingerprint manually that you can send to QualiSystems, and have Quali send you the license file by email.
-
Copy the license file to your computer.
-
Click the Browse button next to the License File field to specify the location of the license file.
You can also use the fingerprint utility to generate a fingerprint.
To acquire the machine’s fingerprint:
-
Open the
Utilities\Licensing\Fingerprint Viewerfolder from the installation package. -
Double-click
Fingerprint.exeto run the Fingerprint utility.The Fingerprint window opens with PC name and unique ID:

-
Click Copy fingerprint to Clipboard.
-
Paste the text to a file.
-
Send this copied information to Quali headquarters. In response, an email message which includes the license file is sent to your email address.
Make sure that your version of the Fingerprint.exe file matches the CloudShell installation version.
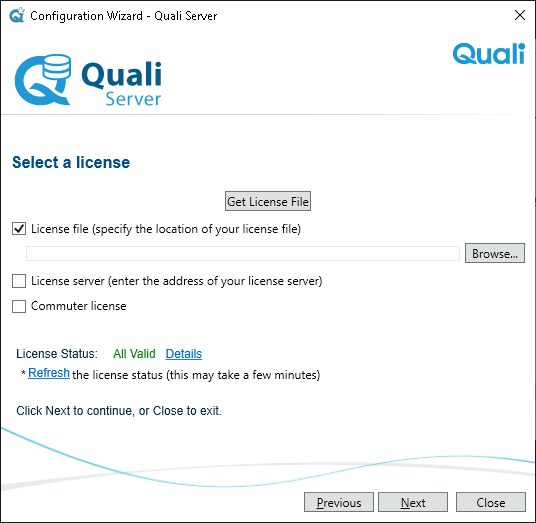
To select an installed license file (License file)
-
For a single station ("seat”) license, you can either specify an installed license, or request a license based on your computer’s ID.
-
If you already have a license installed, click Browse to search for and select the license file. The path to the selected license file is displayed in the specify the location of your license file field.
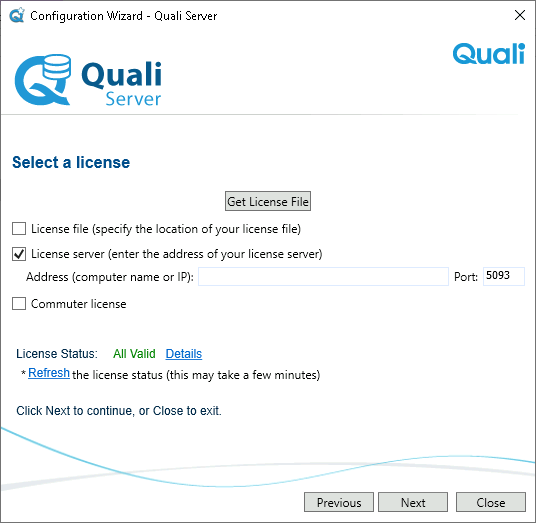
To select a floating license (License server)
-
Select License Server to use a floating license from your organization’s License server.
-
Enter the name or IP Address of the machine where the License Server is installed.
-
Leave the Port field value with the default (5093).
To run a commuter license:
-
Select Commuter License to enable continuous use of a floating license from your organization’s License Server.